Tips for Producing Professional Videos With KineMaster
Making professional videos involves more than just recording and editing clips. It’s an art that combines storytelling, technical skills, and understanding your audience. To start creating videos, think about what makes your story unique. What message do you want to share? Consider the visuals, sounds, and pacing that will grab attention and stick with viewers. Creating engaging videos can change how people connect with your brand or story. These tips will help maximize the use of KineMaster and create stunning videos!
Planning Your Video
First, think about why you are making the video and who will watch it. This helps you set goals and connect with your audience. Next, write a script to organize your thoughts and plan the flow of your video. This will help you avoid mistakes during editing and ensure you don’t miss important details.
Finally, gather all the media you need, like video clips, images, and audio files, and put them in one folder. This will save you time and reduce stress later. Keeping everything organized will help you stay on track!
Importing Media
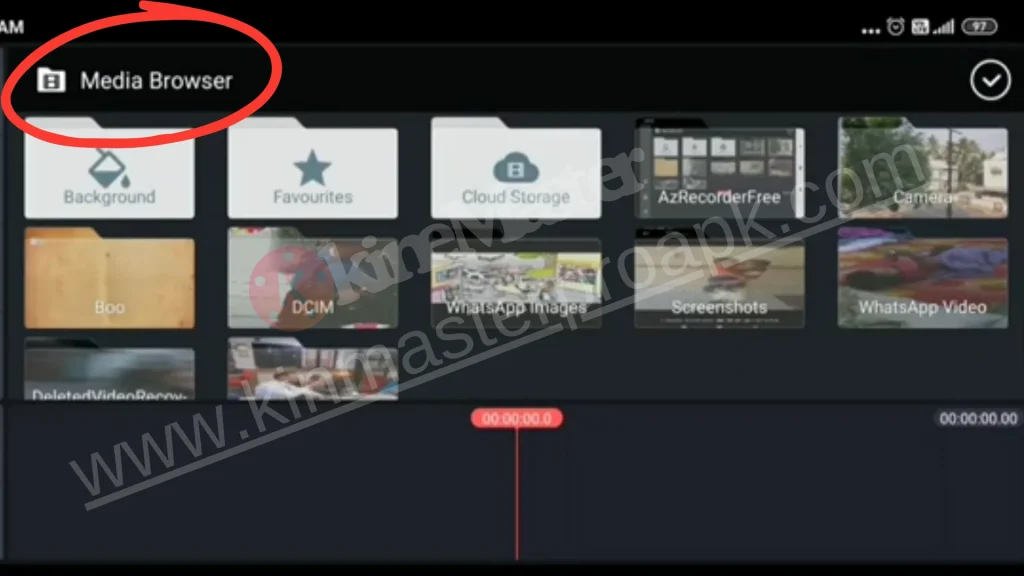
When creating a professional video in KineMaster, the first step is mastering the importing media process like video clips, images, graphics, and audio files. Adding these items is effortless; just tap on the media browser and choose from your device’s library.
This feature’s beauty lies in its simplicity and flexibility, allowing creators to mix and match scenes, enhancing storytelling through a rich visual experience.
Basic Editing Techniques
Trimming and splitting clips
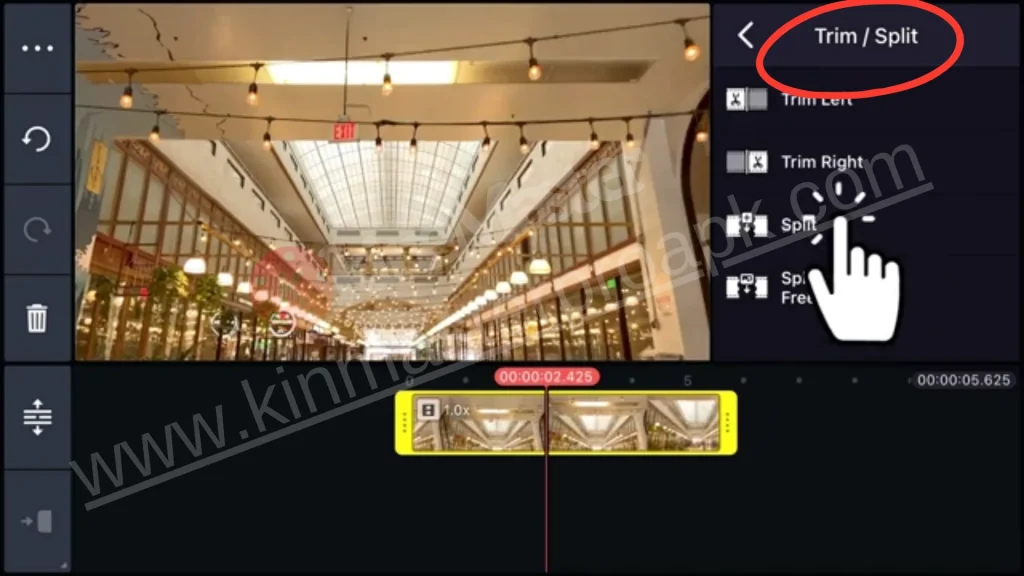
Trimming and splitting clips are essential skills in KineMaster that can significantly enhance your video. Trimming removes unwanted parts at the beginning or end of a clip, focusing the viewer’s attention on what truly matters.
Splitting a clip lets you rearrange scenes easily or add effects between segments, unleashing your creativity and allowing you to play with narrative pacing, sometimes less is more.
Adjusting video speed
Adjusting video speed adds engagement to your content. Speeding up footage creates excitement and energy, while slowing it down draws viewers into emotional moments or highlights stunning visuals.
Finding the right balance is key; too much variation might confuse your audience, but thoughtful use can make a simple story captivating.

Transitions
Transitions tie everything together beautifully and set the tone for shifts in your video. Using various transition effects like fades, wipes, or slides maintains viewer interest and makes scene changes feel natural.
Experimenting with different styles enhances visual appeal and conveys emotions seamlessly, ensuring each moment resonates with your audience.

Enhancing Your Video
Apply Filters and Effects
Enhancing your video in KineMaster is about adding extra touches to charm your audience. Applying filters and effects can change the mood of your video, whether you want a vintage look or something more positive.

Use Overlays and Stickers
Using overlays and stickers can elevate your project’s visual appeal. Overlays add depth, like dreamy clouds or subtle textures that complement your theme. Stickers bring fun elements but should enhance rather than distract from your message.

Text and Titles
Adding titles and text conveys information clearly while keeping it stylish. Experiment with font choices and animations to make them pop without overshadowing the visuals. Each element creates a seamless experience that pulls viewers in, making them more likely to engage with your content.

Advanced Editing Features
Chroma Key (Green Screen)
KineMaster’s advanced editing features open up a world of creativity for video makers. One standout tool is the Chroma Key function or green screen. This feature lets you change backgrounds easily turning a plain room into a busy city. By adjusting colors, you can make beautiful images that impress your audience and bring your ideas to life.

Apply Keyframe Animation
Keyframe animation is another gem in KineMaster’s toolkit. It enables precise control over every element in your videos by gradually change their size, rotation, or position rather than instantly. Keyframe animation adds dynamism and flair to your projects, making them look polished and professional.

Multi-Layer Editing
KineMaster allows creators to stack multiple clips and effects. This feature adds depth without confusing the viewer and makes transitions smoother.

Choose Appropriate Export Settings
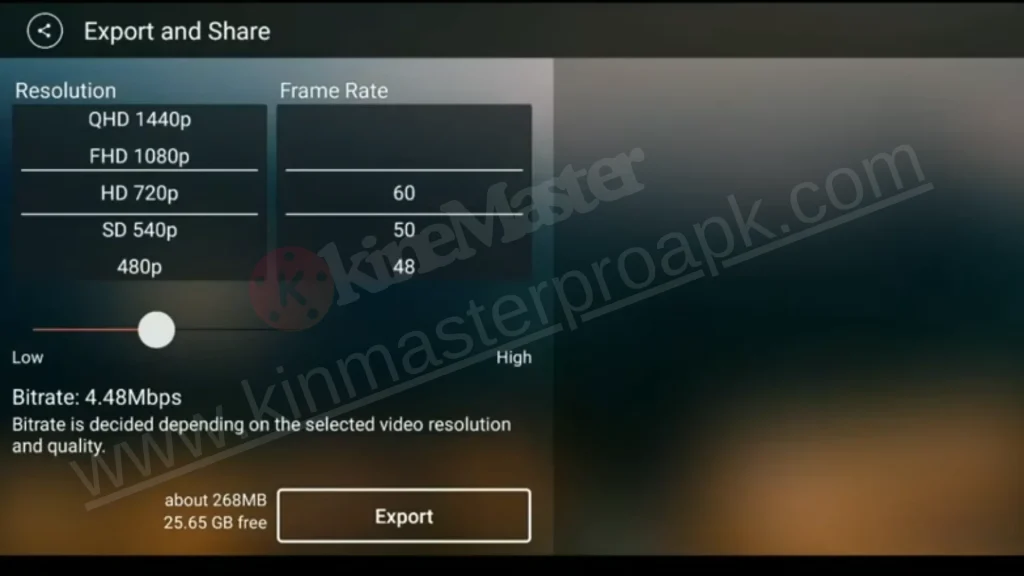
Depending on where and how you plan to share your video, it’s important to set the right resolution, frame rate, and bitrate. Higher settings usually mean better quality but also result in larger file sizes. For YouTube or Instagram, consider using 1080p resolution for clear visuals. For social media stories, using a lower resolution can save time and storage space.
keep the frame rate consistent with how you filmed your video to ensure smooth playback. Paying attention to these details when exporting from Kinemaster will enhance how viewers experience your video across different platforms. Remember to save your project regularly to avoid losing your work.
In conclusion, learning video production with KineMaster is exciting and rewarding. By following the clear steps from planning to Exporting your video, you can turn your creative ideas into professional videos. Each step helps you work better, tell your story more effectively, and connect with your audience. KineMaster provides strong tools for creativity and great results. To make successful videos, Keep experimenting, learning, and creating with KineMaster.
